Setting Up Your Development Environment and Creating C Code
- Tutorials Freak
- Nov 3, 2023
- 3 min read

Creating C code and setting up the necessary environment for coding is an essential step for beginners and experienced programmers alike. C is a powerful and widely used programming language, and having a proper development environment ensures a smooth coding experience. In this article, we will guide you through the process of setting up your development environment and creating your first C code.
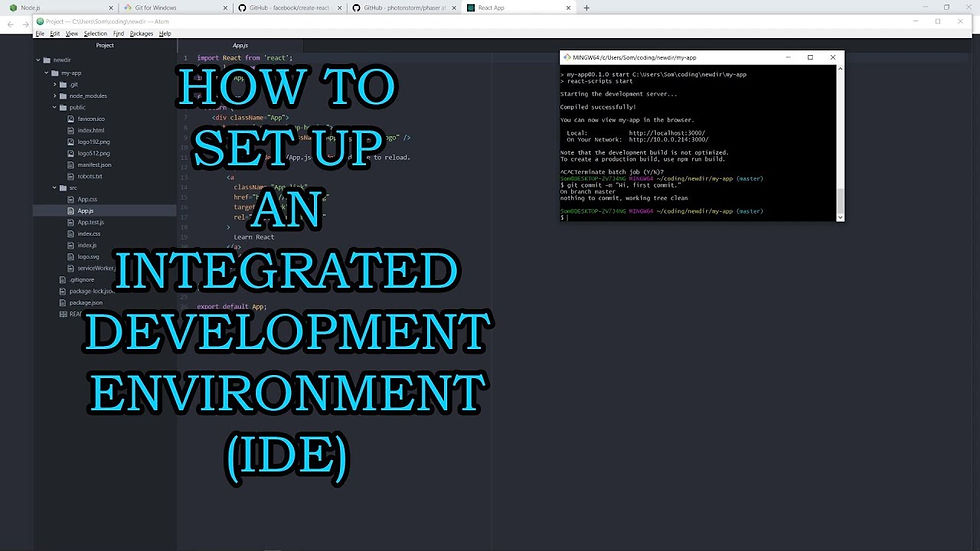
1. Choose a Text Editor or Integrated Development Environment (IDE):
The first step in writing C code is selecting a suitable text editor or integrated development environment (IDE). A few popular choices for C programming include Visual Studio Code, Code::Blocks, Dev-C++, and Eclipse. These tools provide features like code highlighting, code completion, and debugging capabilities, making your coding process more efficient.
2. Install a C Compiler:
A C compiler is essential for translating your C code into machine-readable instructions. There are several C compilers available for different platforms, including GCC (GNU Compiler Collection) for Linux and MinGW for Windows. To install a compiler, follow the instructions provided by the compiler's official website or the IDE you've chosen.
3. Write Your First C Program:
Now that you have your text editor or IDE set up along with a C compiler, you can start writing your first C program. Open your preferred coding environment and create a new source code file with the ".c" extension, e.g., "hello.c."
Here's a simple "Hello, World!" program in C to get you started:
#include <stdio.h>

int main() {
    printf("Hello, World!\n");
    return 0;
}
In this example, we include the standard input-output header file (<stdio.h>), define the main function as the entry point of our program, and use the printf function to display "Hello, World!" on the screen. The return 0; line is used to indicate a successful execution.
4. Compile Your C Code:
Once you've written your C code, it's time to compile it into an executable program. Open your command prompt or terminal and navigate to the directory where your C source file is located. Then, use the compiler to build your program. For example
gcc -o hello hello.c
This command tells the compiler to take the "hello.c" source file and create an executable named "hello."
5. Run Your C Program:
After successfully compiling your code, you can run your C program from the command prompt or terminal:
./hello
If you see "Hello, World!" displayed on the screen, congratulations, you've just created and executed your first C program!
6. Debug and Optimize:
As you gain more experience in C programming, you'll need to debug your code to identify and fix errors. Your development environment should provide debugging tools to help with this. Additionally, you can optimize your code for performance and readability as you become more proficient.
7. Learn and Practice:
Learning C is an ongoing process. There are numerous resources available, including online tutorials, books, and courses, to help you deepen your understanding of C programming. Practicing coding regularly and taking on increasingly complex projects will sharpen your skills.
In conclusion, setting up your C programming environment and creating your first C code is a fundamental step in your coding journey. With the right tools and a simple "Hello, World!" program as a starting point, you can gradually explore the vast world of C programming and build your expertise. Remember that patience and practice are key to mastering the language, and there's no shortage of resources and a supportive community to help you along the way. Happy coding!

Comments